Tuesday, August 19, 2014

Week 31: New Homey Touch

I know how far behind I am, but I am working like crazy to catch up! I already have a ton of "new" ideas, so at this point its just a matter of finding time to do them, and then posting them here. This is my latest new idea:

The New:
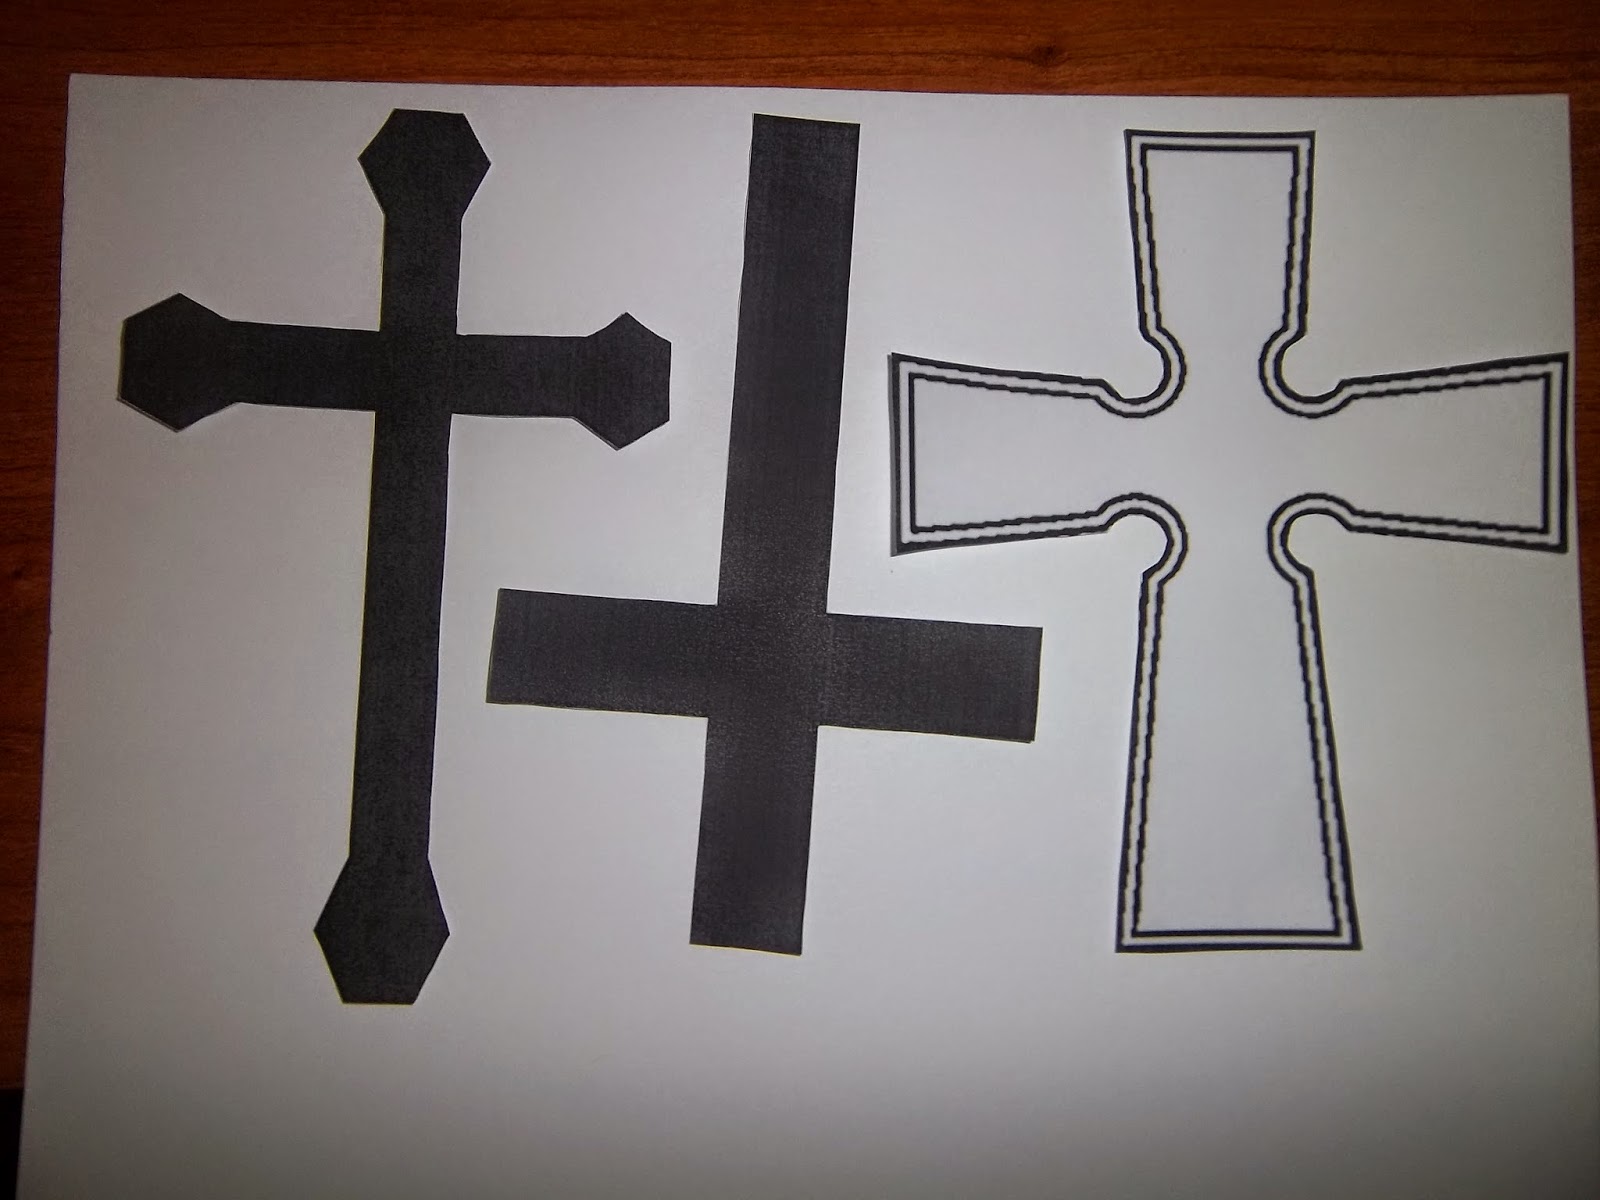
I have a wall in my bedroom that looks quite empty and for a while now, I have been trying to come up with something simple (and cheap!) to fill the space. I have finally found my solution, and it's even homemade. I made two strings of different crosses and hung them up next to each other. Here's how I did it:

Materials:
card stock
pretty paper
design (I used crosses)
string
scissors
glue
tape

Directions:

  1. First, print out the design that you wish to use. I did 10 different crosses, but you could use the same design ten times and just use different colors of paper to add some variety. Cut out your designs the way you want them to look when you hang them up.
  2. Trace the designs that you just cut out onto card stock. I was able to fit 3-4 crosses per page, and you might be able to fit several on one page as well, just depending on how big the design is.
  3. Cut out the traced design from the card stock and label the tops of your card stock design.
  4. Next, trace the card stock design onto your pretty paper. It will look best if you place the "top" side of your design onto the back side of your paper. Cut out your design from the pretty paper, making sure that you cut the pencil marks off. It will fit onto the card stock better if you do it this way.
  5. Drip small drops of glue around the edge on the "top" of your card stock design and stick the paper to it. If they start to get curly, like Elmer's glue creations do, just set them under a heavy book for a few hours.
  6. Tape your designs to the string. I decided to go with two stings, five designs on each. Feel free to get more creative than that though :)
  7. Hang it up!

The Evidence:


The Verdict:
This project was more time consuming than I anticipated, but it was very simple and I love the way it looks now that it's hung up. Spending the extra time on it to make it perfect was more than worth it.
To cut back on the amount of time it took though, I might just go with one design.

Let me know how your attempt at this project went!

Thursday, August 14, 2014

Kids

I spent this last summer working full-time with kids. I had never before spent so many consecutive hours with children, nor had I spent so much of my week at a job. Up until this point, all of my jobs had been part-time and my interactions with children had been in short bursts of a few hours at the most, as opposed to spending all day with them.
From this experience though, I have learned a few things that might be helpful when interacting with kids from a position of authority, such as a parent, a teacher, a babysitter, and so on.


  1. Kids will rise to meet your expectations. If you are assuming that the child(ren) are going to ignore your directions and be disrespectful toward you, that is exactly what you are going to get. However, if you tell them that you have high (yet reasonable) expectations, they will test the boundaries at first, but if you stay strong and don't give in to the tears and attitude that may come, they will change their behavior to match what you expect of them.
  2. Giving children the opportunity to earn lost privileges back is more likely to result in acceptance of poor behavior and follow-through on the consequence. Simply stated, if you take away a certain privilege for a certain amount of days, or forever, as a consequence for bad behavior, they won't feel the need to make things right with their misbehavior. If the child knows he will be able to watch TV again in two weeks, it will be frustrating for him, but the time will pass and he will not have done anything to earn it back. If a little girl is using her toy to hurt others, taking it away forever will discourage and upset her, and she will eventually find a way to start hurting others with something else. However, if the child has to earn back the toy and TV watching privileges, it gives the child a sense of responsibility for what they did wrong and gives them an opportunity to make it right before they can have their privileges back.
  3. Relationships are key. If a child feels they can trust you and that you care about them, they are more likely to listen to and respect you. If you think about it, even adults are more willing to comply with the requests of people whom they care about and trust. It is important to build a relationship with children that is warm and affectionate mixed with good doses of firmness and gentle correction. I'll admit, the perfect balance between the two can be tricky to strike, and may even be different for everyone. While trying to navigate the two nearly opposing factors, just remember to be consistent with expectations, consequences, and other things that are black and white. 

Children are a precious and wonderful, albeit complicated and sometimes confusing, gift from God. Their innocence and naivety is a much needed reminder of how pure and lovely God's creations are. Even though they can be exhausting and frustrating, interacting with children consistently leaves me feeling more alive than most things. Someday, I want my own children. However, until then I will continue to learn from, play with, and teach the gifts that God has blessed others with.

Saturday, August 9, 2014

Week 30: New Way to Use Old Cards

I am well aware of the fact that I am supposed to be on week 32, but rest assured because I am determined to get all the way caught up before my classes start again on August 18th! This week though, I have something really cool to share with you :) Take a look!


The New:
I work with a gal who despises wasting anything: food, water, energy, styrofoam, and even old cards from games. She was working with the kids this last week on recycling things that seem like trash to most people, and she happened to have a stack of cards from an old Cranium game. Shortly after I discovered those cards, I grabbed a stack and became inspired to make a place-mat out of them. Here's how I did it:

In short:
I made four rows of seven cards, holding them together with packing tape. Then I taped them to each other one at a time and covered every last inch with packing tape (just to make it easier to wipe off, if it's ever necessary).

In detail:
1. Gather your materials (clear packing tape and old cards). Place a long piece of packing tape on your work surface, sticky side up. Carefully stick the top part of the cards to it. I used 7 cards in each row. Set it aside when you are done. Repeat this step four times (or more, if you want it to be longer). Don't worry about covering the cards in tape just yet; it will look better if you are able to use minimal amounts of tape, and when you tape the rows together, it will cover a good chunk of cards.
2. Tape the first two rows together, using long pieces that wrap around the back a little (as opposed to lots of short strips of tape). Continue taping the rows together using this same strategy.
3. When all of your rows are secured together, make sure you tape up any part of the cards that is still 'untaped'.

Note: There are surely many strategies to this whole taping thing. Find something that works for you and don't be afraid of messing it up. After all, this is supposed to be a fun HOMEMADE project, so perfection is by no means the main goal :)


The Evidence:


The Verdict:
This project was pretty simple and I would definitely do it again. Next time though, I might use playing cards for a different look. This way, one side of the place-mat would be all the same and the other side would show some more variety.
Also, I bet that self-laminating techniques would work well and leave behind fewer creases and lines.

If you've done something similar to this, I would love to hear about it in the comments :)

Sunday, July 20, 2014

Week 29: New Way to Show Some Love

I am REALLY excited to share my new thing with you guys this week! I have literally been working on this for a year and I finished it yesterday. Let me explain:


The New:
On July 22, 2013 my boyfriend told me he loved me for the first, and it was super romantic and gushy the way he did it. So I decided the very next day to keep track of all the reasons why I love him, one each day for the next year, and that's exactly what I did. I called it my "Because Project," since I was writing things that finished the sentence "I love you because..." (If you are trying to find this post again later, it will be on my craft page under the title 'because project') It took 8 pages in a microsoft word document, single spaced. That's a whole lot of reasons, let me tell you!

So anyway, I wasn't always sure about what I wanted to do with all these reasons or how I wanted to give them to him. I thought of a few ideas, but nothing really stood out to me... Until one day I came up with the perfect idea. I decided to tear index cards in half and write on reason per card, then I sneaked into his house while he was at work (hence me doing it a few days early-he was working and I had the day off) and hid these reasons EVERYWHERE. He will surely be finding them for the next several months :)

To get him set up with this, I bought a binder and some of the clear pages that people use to collect baseball cards so he can keep them all together and they will be easy to look at. I put the first and last reason in the binder to get him started and to let him know what to look for. I also typed up a love note/explanation of what I had done and put it in a sheet protector as the first page of the binder. Then I met him at work as he was getting off, gave him the binder, and once he got home I let him find them from there. He was having so much fun! It almost reminded me of a small child on an Easter egg hunt :)


The Evidence:


The Verdict:
This was definitely worth all the time and energy that I put into it. I was such a simple (and relatively cheap!) way to shower my man with a little bit of love. Plus, the huge smile that invaded his face after reading each card is something that I could never get tired of seeing.
Doing a reason for each day of the year is definitely a lot, so if it's too overwhelming but you like the idea, try doing 52 reasons-one for each week of the year. You could even write the 52 reasons on a deck of cards.

Have you already done something similar? I would love to hear about it in the comments :)

Saturday, July 19, 2014

Week 28: New Sweet Treat

Have you ever had the avalanche bars from Rocky Mountain Chocolate Factory? Well, I have stumbled upon the homemade recipe for it! You're welcome :)


The New:
In case you haven't ever had these magical bars, let me tell you why you need to! They are like rice crispy treats, but the 2.0 version. And so easy to make! Check it out:

Ingredients:

  • 12 oz. bag of white chocolate chips
  • 1/4 cup of peanut butter
  • 3 cups of rice crispy cereal
  • 1 1/2 cups mini marshmallows
  • 1/4 cup of mini chocolate chips
Directions:
  1. Melt the white chocolate chips. I did 60 seconds in the microwave and it was done. Stir in the peanut butter.
  2. Once white chocolate and peanut butter are well combined, add the cereal and stir. Let it cool for about 15 or 20 minutes.
  3. Next stir in the marshmallows and mini chocolate chips. They might get a little melty if it hasn't cooled off enough. 
  4. Pour the mixture into a greased 9x9 pan. (I imagine lining it with parchment paper would work too!) Press it into the pan using a spoon, but don't press too much or too hard, otherwise they become very dense and less fun to eat :)
  5. Cut the bars when they have completely cooled. I stuck mine in the fridge to speed up the process.


The Evidence:


The Verdict:
These are delicious and simple! The white chocolate-peanut butter combination reminded me of these reese's puffs cereal, so to have that taste in a rice crispy consistency was awesome! Also, everyone who tried one, loved it: My boyfriend, my roommate, her boyfriend, my dad, and even my mom who despises white chocolate. Needless to say, these were a crowd-pleaser! I will definitely be making these again, maybe with more chocolate chips next time :)

Monday, July 7, 2014

Week 27: New Cookie Recipe

Guess who has two thumbs and took advantage of her 3 day weekend to catch up on blogging? This girl!


The New:
For the first time ever, I made cookies from a cake mix, and they are delicious! But more on that later : ) Here’s how I did it:

Strawberry Chocolate Chip Cookies

Ingredients:
Strawberry cake mix
Baking powder
2 eggs
1/3 cup canola or vegetable oil
Vanilla extract
1 ¼ cups chocolate chips

Directions:
1.       Preheat oven to 350 degrees.
2.       Combine cake mix and baking powder. Set aside.
3.       Whisk together eggs, oil, and vanilla. Add to cake mix and baking powder.
4.       Stir together. Once it is well-combined add chocolate chips.
5.       Plop balls of dough onto cookie sheet and be aware that they will likely spread out.
6.       Bake for 10 minutes. Let cool on cookie sheet for 3 minutes and then let finish cooling on a rack.


The Evidence: 


The Verdict: 

I never thought of using a cake mix to make cookies, but it worked out really well and it was incredibly easy! Plus, they were soft, which is enough to convince me to do it again. I might even get creative and try a different cake mix next time. For now though, I’ll be munching down these pink beauties!


Saturday, July 5, 2014

Week 26: New way to answer the question "What do you wanna do today?"

My boyfriend and I often fall into the what-do-you-wanna-do-today-I-don't-know-what-do-you-wanna-do-today trap. And so we agree that after watching something on Netflix, we will take on that challenge again. But we don't, and it becomes a vicious cycle of watching lots of Netflix and never doing anything fun or new. So! I've got a solution to that now :)


The New:
Remember that jar I made two weeks ago? Well I'm putting it to good use this week. Here's what I did:
I looked up date ideas on Pinterest and found several good lists with fun things to do. Then, I wrote out all the dates on popcicle sticks with an ultra fine point sharpie and split them into 3 categories: free, $20 or less, and lets plan for it.
I used nail polish to paint the ends of the sticks, based on the categories they were in. If you look at the picture below, purple is free, pink is $20 or less, and sea foam green requires the extra planning and money. I'm debating the need for a 4th category that's between $20 and $100, but I'm sticking with these 3 for now to see if it solves the problem.

Anyway, whenever we get bored now, we will have a way to fix that problem :)

The Evidence:


The Verdict:
I must admit, I just finished this little project and I'm still thinking of new ideas to add, so I have not had the opportunity to actually try this out yet, but I have no doubt that it will work!


Any questions on how I did this? What variation did you make to it? What ideas did you write on your popcicle sticks? Let me know in the comments :)