The New:
I have a wall in my bedroom that looks quite empty and for a while now, I have been trying to come up with something simple (and cheap!) to fill the space. I have finally found my solution, and it's even homemade. I made two strings of different crosses and hung them up next to each other. Here's how I did it:
Materials:
card stock
pretty paper
design (I used crosses)
string
scissors
glue
tape
Directions:
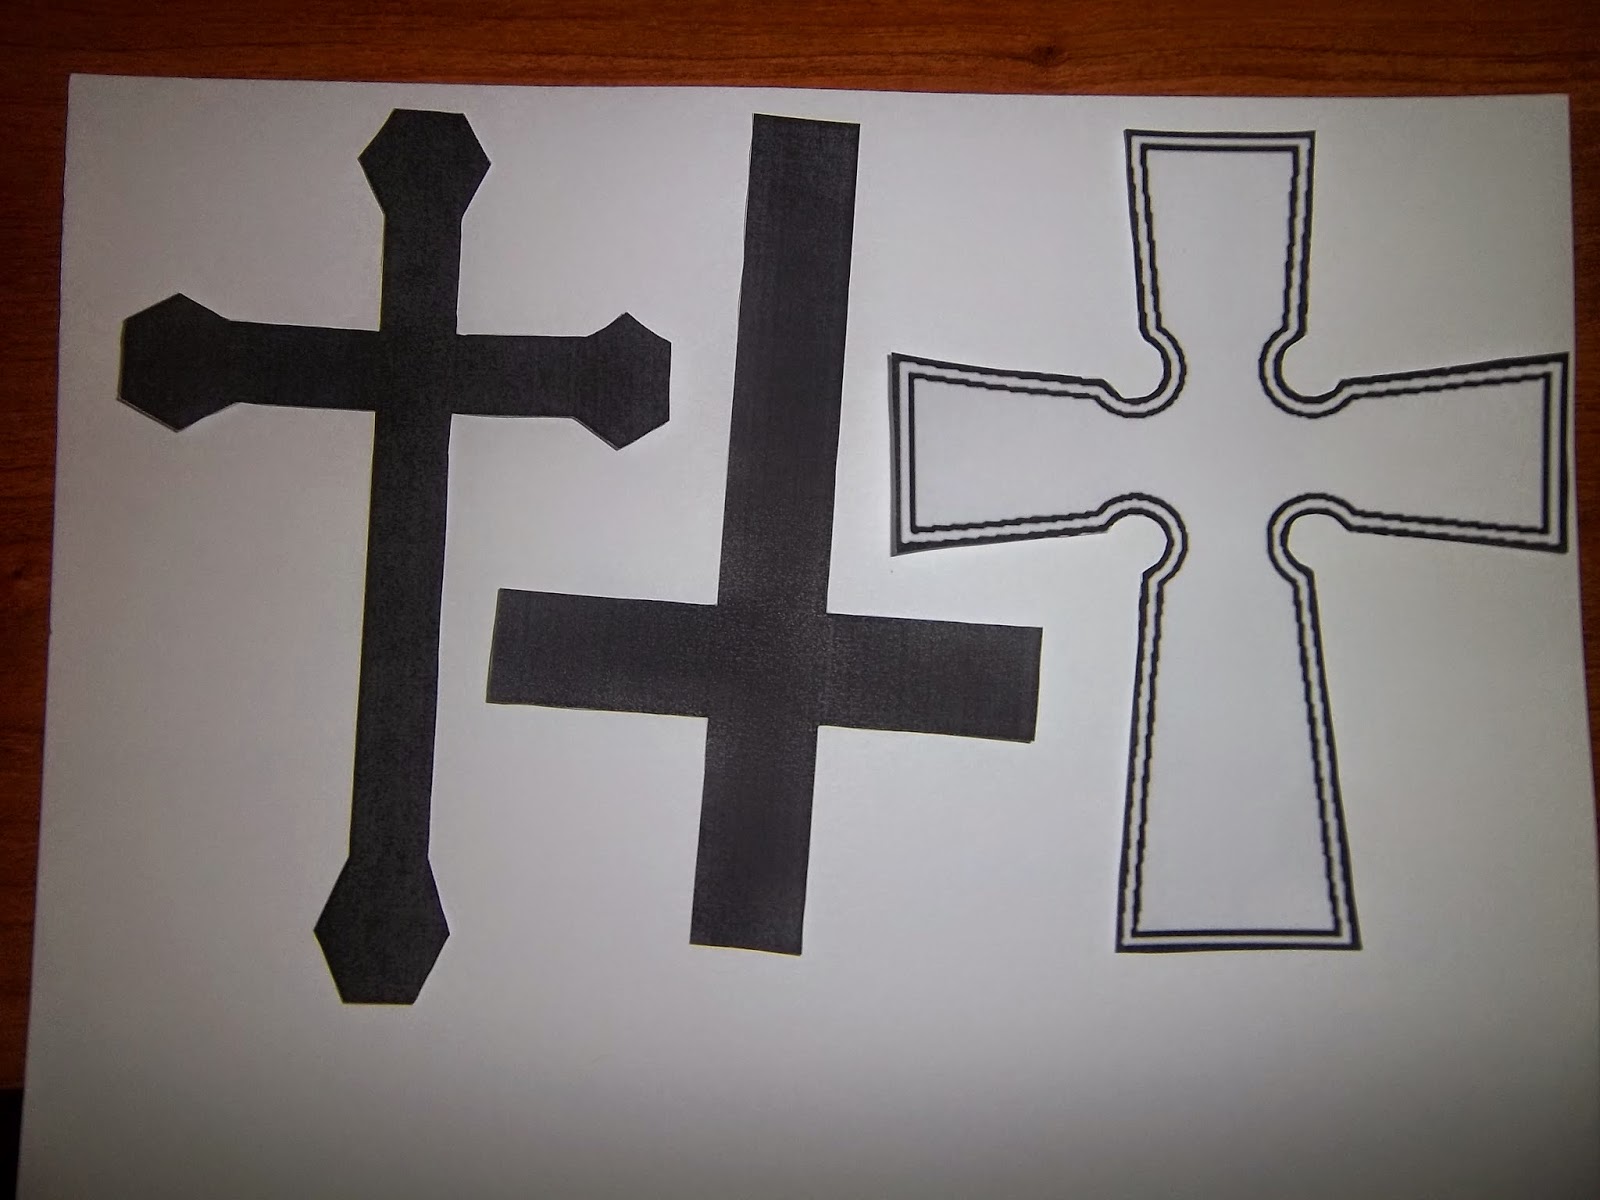
- First, print out the design that you wish to use. I did 10 different crosses, but you could use the same design ten times and just use different colors of paper to add some variety. Cut out your designs the way you want them to look when you hang them up.
- Trace the designs that you just cut out onto card stock. I was able to fit 3-4 crosses per page, and you might be able to fit several on one page as well, just depending on how big the design is.
- Cut out the traced design from the card stock and label the tops of your card stock design.
- Next, trace the card stock design onto your pretty paper. It will look best if you place the "top" side of your design onto the back side of your paper. Cut out your design from the pretty paper, making sure that you cut the pencil marks off. It will fit onto the card stock better if you do it this way.
- Drip small drops of glue around the edge on the "top" of your card stock design and stick the paper to it. If they start to get curly, like Elmer's glue creations do, just set them under a heavy book for a few hours.
- Tape your designs to the string. I decided to go with two stings, five designs on each. Feel free to get more creative than that though :)
- Hang it up!
The Evidence:


.JPG)
.JPG)
.JPG)

.JPG)


The Verdict:
This project was more time consuming than I anticipated, but it was very simple and I love the way it looks now that it's hung up. Spending the extra time on it to make it perfect was more than worth it.
To cut back on the amount of time it took though, I might just go with one design.
Let me know how your attempt at this project went!
No comments:
Post a Comment